Another new carb is on its way! The old Edelbrock Performer 1407 750cfm is on ebay and the 1805 Thunder AVS 650 will go the same way. I have tried for several months now to eliminate the secondary bog, only to create a new problem where the excessive air door tension means that if the revs are too low then the door doesn't open and the engine bogs rich until the air flow picks up, or I lift my foot out of the throttle.
Currently in the post from the States is a new Quick Fuel SS series 750cfm mechanical secondary carb. Its a Holley double pumper clone with annular boosters and changeable jets and air bleeds - all the bells and whistles! After a lot of deliberation and research I've decided to try my luck with a mechanical secondary carb which should suit a very light, short geared manual transmission car. The Quick Fuel SS has annular boosters which from what I understand should tame the 750 to make it more driveable at lower rpm. I had the option of a 650cfm but I went for the 750 as I expect the annular boosters to help and on my 750 Eddy the idle circuit is widely known for being insufficient and I expect the Quick Fuel to be better in this respect.
Updates will be coming as I fit it and see what its like.
Wednesday, 24 June 2015
Monday, 8 June 2015
Brands Hatch American Speedfest III
Sunday 7th June was American Speedfest III at Brands Hatch. We were treated to two rounds of the European NASCAR championship and a variety of support races of F5000, miscellaneous classic V8's and silhouette racers, plus demonstrations and parades of anything else American that you could imagine.
At the end of it all we were all allowed to go on track for a nice steady parade, that in keeping with the parade rules absolutely did not include a rather cheeky burnout down the start finish straight when a little gap opened up hehe :)
Here's the view looking back downhill from Druids hairpin:

Me standing awkwardly next to my own car, looking like a tourist:

And a few other photos of cars which caught my eye. Unfortunately the camera on my phone is a bit scratched and it diffuses the light a bit to make the images slightly hazy in bright sunshine.


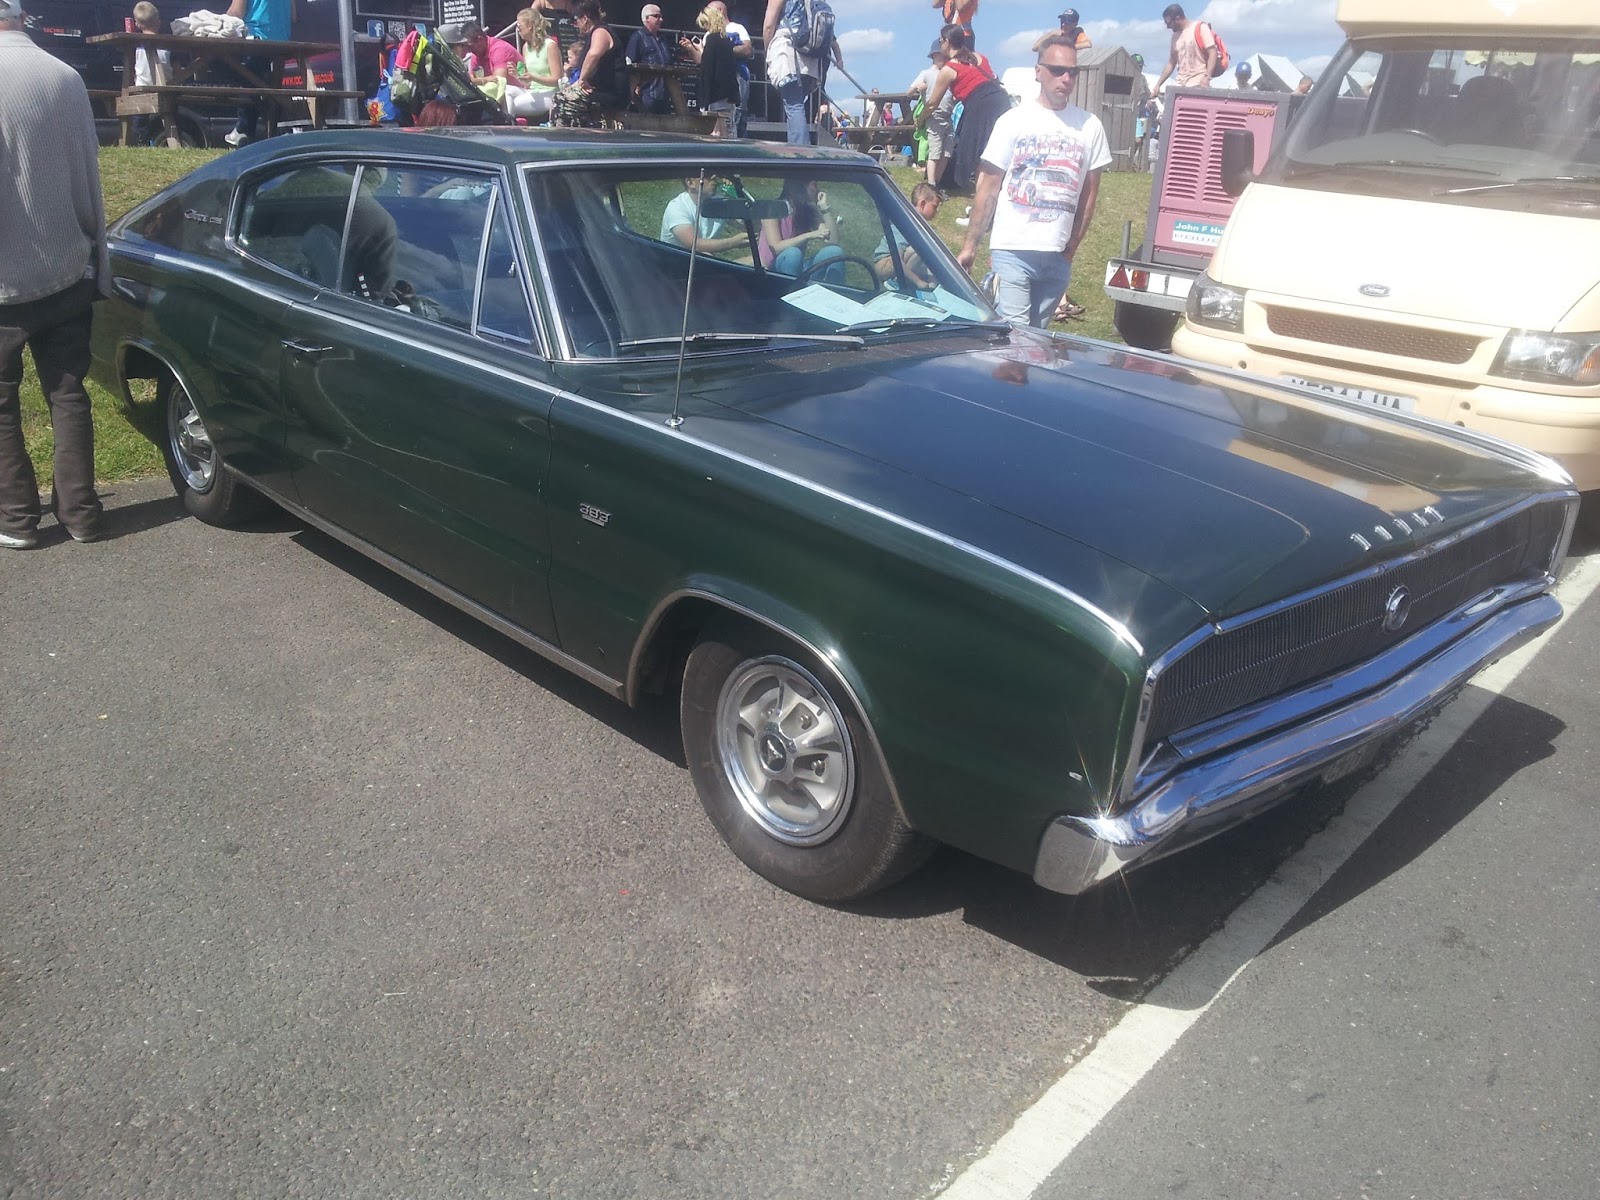
For some reason I both love and hate this age of Mustang in equal amounts. Either way this was a very nice example and did some massive smoking burnouts on the parade lap.


Tom Petty #43, and my best friend Mater :)


Here's our cobra parked up, enjoying the view.

Queueing for the NASCAR grid walk was worth it, really interesting to see some of the cars up close

Naomi meeting a member of the Earnhardt family who was racing today, Jeffrey Earnhardt, no less. Eddie Cheever III was also there.

Number 21 Gabriela Arantes Prado, didn't have a pen handy to sign our programme and I could not for the life of me remember what Portuguese for good luck is. Later remembered its boa sorte!

Monday, 11 May 2015
Vacuum Advance 2
Had another play with the vacuum advance and have switched from ported to full manifold. I mentioned modifying the Crane adjustable vacuum canister to move the limiter to the end of the mechanisms movement rather than the start. This was fairly straightforward with a strip of aluminium. I gave it a curved edge so it was adjustable by rotating it.


My mechanical advance setup was initial timing approx 17°, total timing 34° at just under 3000rpm which is fairly conservative on the rate but is nice and safe. With a car as light as this I have found that increasing the rate and getting the timing in by 2500rpm, as many recommend, makes little difference to the "seat of the pants" dyno.
I know that my idle vacuum on purely mechanical advance is somewhere around 8-9" mercury so if I add vacuum advance from the manifold source, in order to avoid hunting at idle it needs to be fully deployed at 8". If the vacuum cannister is in the middle of it's range at idle it will wander around and give an unsteady idle as the timing is always changing.
I set the vac unit to 0 turns (fully clockwise) on the adjuster. This was loose enough for the vac advance to start coming in at 5.5 and be fully in by 7.5.
I expect that the extra advance at idle will make it run better, with a higher vacuum which means that I can probably bump up the vac setting to come in higher. I want to avoid any crossover at light acceleration when the vacuum advance is still slightly activated but the mech advance is coming in with rising revs.
I started the car and immediately the idle vacuum jumped up to 11". This was great news. I gave the vac cannister 3 turns on the adjuster. This now means that the vacuum advance comes in at 7" and is fully deployed by around 9 to 9.5". My idle timing with vacuum connected was 26°. This means I'm getting roughly 9° vacuum advance which is fine for now. It takes a bit of fiddling to get the limit adjuster in just the right place and is largely trial and error. Having the vacuum "start" at higher vac levels means that the vacuum advance will definitely have completely dropped out when I accelerate lightly so there is no risk of pinging due to too much timing when the engine is under load.
I was able to lean off the idle mixture screws which gained another 1" of idle vac to give a total of 12" but due to the fact the engine was now running much better, the idle speed had come up to 1050rpm. One quick adjustment on the idle screw and it was back down to about 850/900rpm with 11.5" vacuum. This is the best its ever been.
Out of interest, to make sure I fully understood everything, I lowered the idle speed and as soon as the idle vacuum dropped below about 10" the idle speed started to vary and wobble around a bit. I got a timing light on the damper and could see the timing changing, due to the problem described above - the vac can isn't fully deployed and the timing varies, giving an unsteady idle. As soon as I bumped the idle speed back up again, the manifold vacuum returned to above 11" and the timing was then steady and all was well - the vac can was now fully deployed and the timing wasn't changing. The engine will idle steadily with the vacuum advance fully deployed at 800rpm for 10.5" idle vac but when the fan comes on the extra load drops the idle just a little and then the vacuum advance starts to drop off and leads to an unsteady idle. That's why the final idle speed setting took this into account and was set a little higher to give some margin. The final value that I settled on was as follows:
Idle speed: 900rpm
Idle vac 11.5 in.hg
Base timing: 17°
Vac timing: 9° fully deployed at 9.5-10 in.hg. Starts at 7.5 in.hg
As an extra bonus job, I removed the steering column bracket and welded some triangulation onto it to make it stiffer as the steering wheel had been vibrating a bit at certain revs (about 1600rpm). Only took a few mins, didn't bother painting it as I wanted to drive it first to see if it needed any more welding first.
Went for a drive and it was really very nice. Smoother down low although it doesn't like accelerating hard from below 1500rpm as its out of the operating window of the cam. The vac at cruise has raised from 13" to 15" which would indicate that the increased cruise advance is well received and is allowing the mixture to burn more completely. The steering wheel also wobbled a lot less so I will remove the new bracket, paint it and refit. The car has always been rich on cruise to prevent surging, as suspected I think I can go another stage leaner (4%) on the mixture rods for cruise because the vac advance allows the leaner mixture to burn properly and save maybe 1mpg which is nice. No surging except at extreme driving conditions e.g below 1200rpm in 3rd and it bucks slightly but good heavens if I think back to how it used to be its like a different car. All these small continuous improvements have added up to make a massive difference.
Next problem to solve - rich bog during hard cornering and braking.
Wednesday, 29 April 2015
Vacuum Advance
Today I decided to fit the Crane adjustable vacuum advance kit (P/N 99600-1) that I bought a few weeks ago. Now, the internet is chock-a-block full of people getting their knickers in a twist over whether vacuum advance has any place on a performance engine.
I used to be in the "no" camp and told myself that the cobra was basically a street legal racing car and doesn't need any fuel saving nonsense but after doing a bit of reading I've decided there's nothing to lose so may as well fit it. I highly recommend reading David Vizard's book "How to build max-performance Chevy Small Blocks". If vac advance is good enough for someone of Vizard's experience and knowledge, then it will do for me.
Vacuum advance is load sensitive as opposed to RPM sensitive (centrifugal advance) so it won't affect all of the good careful work I've done on my mechanical advance curve. Vac advance will not affect the timing at heavy and wide-open throttle because there is insufficient vacuum to activate the mechanism. It only comes in at light loads when you are cruising along. Just a quick refresher before I get in to fitting it - the basic premise is that at light loads the spark needs to occur earlier because the lean mixture and partially filled cylinder need more time to burn fully. The way I imagine it is that the fuel is more spread out so the flame front travels slower, hence you need to give the engine more time to burn the mixture in each cycle. There, that made perfect sense didn't it!
Well anyway, a whole load of people a lot cleverer and with a lot more experience than me have written reams and reams on the topic and its all out there for the inquisitive mind to digest. I would politely suggest ACTUAL BOOKS or articles by people with proven experience and knowledge as a source for information rather than what some completely unknown person on an internet forum (or blog for that matter!) says.
Right, on with the fitting. My dizzy has a plastic jobbie where the vac advance canister goes so that was removed and the advance can fitted in its place. There is an arm which hooks into a tab on the rotor. This is what pulls the timing in/out.
Here's my distributor before any mods (ignore the completely different advance weights/springs). The black plastic piece screwed in at the bottom of the picture is the blanking piece for the vac advance.

Here is the advance fitted:


The kit comes with a fancy looking plate that you can just about see in dark grey below the top fixing screw of the vac advance unit. It looks a bit like a cog-wheel and has an off-centre hole. This is the limiter plate. I set it to give the smallest amount of vac advance possible so I could start safe and increase if required.
When I got the advance kit I also bought a hand vacuum pump so I could determine the vacuum at which the advance comes in, when its fully deployed and also apply known amounts of vacuum with the engine running and measure the advance.
First of all I hooked up the hand vac pump with a spare bit of hose and applied vacuum until the mechanism moved. This was at whatever setting was straight out the box with no adjustment. The mechanism moved at approximately 7 inches of mercury.


I used to be in the "no" camp and told myself that the cobra was basically a street legal racing car and doesn't need any fuel saving nonsense but after doing a bit of reading I've decided there's nothing to lose so may as well fit it. I highly recommend reading David Vizard's book "How to build max-performance Chevy Small Blocks". If vac advance is good enough for someone of Vizard's experience and knowledge, then it will do for me.
Vacuum advance is load sensitive as opposed to RPM sensitive (centrifugal advance) so it won't affect all of the good careful work I've done on my mechanical advance curve. Vac advance will not affect the timing at heavy and wide-open throttle because there is insufficient vacuum to activate the mechanism. It only comes in at light loads when you are cruising along. Just a quick refresher before I get in to fitting it - the basic premise is that at light loads the spark needs to occur earlier because the lean mixture and partially filled cylinder need more time to burn fully. The way I imagine it is that the fuel is more spread out so the flame front travels slower, hence you need to give the engine more time to burn the mixture in each cycle. There, that made perfect sense didn't it!
Well anyway, a whole load of people a lot cleverer and with a lot more experience than me have written reams and reams on the topic and its all out there for the inquisitive mind to digest. I would politely suggest ACTUAL BOOKS or articles by people with proven experience and knowledge as a source for information rather than what some completely unknown person on an internet forum (or blog for that matter!) says.
Right, on with the fitting. My dizzy has a plastic jobbie where the vac advance canister goes so that was removed and the advance can fitted in its place. There is an arm which hooks into a tab on the rotor. This is what pulls the timing in/out.
Here's my distributor before any mods (ignore the completely different advance weights/springs). The black plastic piece screwed in at the bottom of the picture is the blanking piece for the vac advance.
I removed the rotor housing thingy for a better view.
The kit comes with a fancy looking plate that you can just about see in dark grey below the top fixing screw of the vac advance unit. It looks a bit like a cog-wheel and has an off-centre hole. This is the limiter plate. I set it to give the smallest amount of vac advance possible so I could start safe and increase if required.
When I got the advance kit I also bought a hand vacuum pump so I could determine the vacuum at which the advance comes in, when its fully deployed and also apply known amounts of vacuum with the engine running and measure the advance.
First of all I hooked up the hand vac pump with a spare bit of hose and applied vacuum until the mechanism moved. This was at whatever setting was straight out the box with no adjustment. The mechanism moved at approximately 7 inches of mercury.
I then kept applying vacuum until the vaccum mech stopped moving and the maximum vac advance had been deployed.
You can see in the right hand picture that the arm has moved to the bottom of the slot when fully deployed (just above the Made in Mexico sticker). The limit plate adjusts the start position. This highlights the slight drawback of the limit plate - if you rotate the plate to limit the advance, the spring in the diaphragm is compressed and it will require more vacuum to stat moving. It would make more sense to have the limit plate on the other side of the arm so the mechanism moves into the limiter and the vacuum at which the advance starts moving remains the same.
I can see a potential future modification on the horizon - move the limt plate to the other side of the arm, but that's a task for a rainy day. Back to the task at hand though, I noted down the values and found that the vacuum advance started at 7.5in.hg and finished at 13.5in.hg. I know from the vac gauge on the dashboard that when I'm cruising along at around 2000rpm I get 15in.hg vac which means this setting is ok - all the vac advance will be in so it will be steady and not wandering around (I assume that's the aim) so I may as well go for a drive and see what its like.
The only thing left to check was exactly how much vacuum advance I had. The limiter plate just has a bunch of nobbles in it, it doesn't say what the value is so you have to measure it. With the vacuum pump still attached I got my timing light hooked up and started the car. I let it warm up for 5 minutes then checked the initial timing which was 17°. I pumped 15in.hg vac on the hand pump and the engine picked up a few revs which showed that the vacuum advance was working. Checked the timing and it was 32°. This meant that I had 15° vacuum advance.
I found a bit of hose and attached it to the vac can, then ran the other end round to the front of the carb. Now here is a dilemma. Ported vac or manifold vac? Ported vacuum on a carb comes from above the throttle and is only present above idle. At idle there is no vacuum on the ported source. Full manifold vacuum is present all the time (apart from wide open throttle of course) as it comes from below the throttle.
Full manifold vacuum is present all the time. After thinking about it I put it in the ported vac. The reason - my idle vacuum is quite low because of the cam, approx 9in.hg. If I hooked up the vacuum advance to manifold vacuum the vac canister would be partially deployed at idle and may lead to an unsteady idle which hunts around because the timing is constantly changing. The weight of opinion is that full manifold vac is the "correct" way to do it - you set your base initial to stock at around 12° or so then you get your extra timing from the vac advance to take it up to around 25° so you get a good clean idle, but this needs to be fully deployed at whatever your idle vacuum is. That means I need a vac advance can that is limited to around 8-10° and is fully deployed at idle vacuum i.e. somewhere around 9in.hg. I may be able to set up this adjustable can to get that setting in the future when I have done some more adjustment but for now I'm just interested with measuring the total vac advance in degrees and seeing what its like when running - hence I went for ported vacuum.
Ported vacuum on an Edelbrock carb is on the left looking from the front. (UK drivers side).
Went for a drive, about 40 minutes or so with lots of cruising but also some varied acceleration to see if I could detect any pinging. Everything seemed fine and things were noticeably smoother at lower revs. I didn't look much at the AFR but will have a look at the data later on. Next thing to do is to lean out the carb in cruise mode and see what I can get away with. I think at least one step leaner (4%).
Sunday, 29 March 2015
Gear Gaiter Surround
Finally got round to doing the gearstick surround! I bought a polished stainless round surround from Europa spares and it looked completely stupid all shiny and polished as it didn't match the rest of the car so decided to paint it. The Dax tunnel isn't flat so it took a bit of work to bend it to fit the shape, just a vice, large diameter round steel bar and I got something half decent.
For the paint, I didn't really know what to do. I knew that polished shiny stainless was daft so had a look in the cupboard to see what other options I had. I found an old rattle can of grey car body paint and gave the stainless gear trim a couple of very light coats. Amazingly, because it was polished it came out a nice grey mottled effect, rather like the leather of the gaiter itself.
Four holes drilled, rivnuts in and job done.
Subscribe to:
Posts (Atom)