Monday 28 October 2013

Steering Column Shuffle and other tasks

One unexpected side effect of raising the engine is that all the lovely clearance of the steering column to the exhausts has disappeared. Luckily I I decided to fit the footwell column bush from the engine bay side, so this can be removed without having to take the column out (now the column shroud and dash are in this was Very Good News). The plan was to get the file out and slot the hole to shuffle the column bush up a bit, and give a bit more clearance to the exhaust headers.

On removal I had a look at the plastic centre of the column bush. It's got teeth on one end that loosely line up with the splines, and a triangular section at the other which fits the main part of the column. With many in/outs from multiple refitting and adjustment of the column it was getting a bit worn and when the steering wheel is jiggled vigorously you could just feel a little clunk of movement so I swapped it for a new one now the column position was finalised.


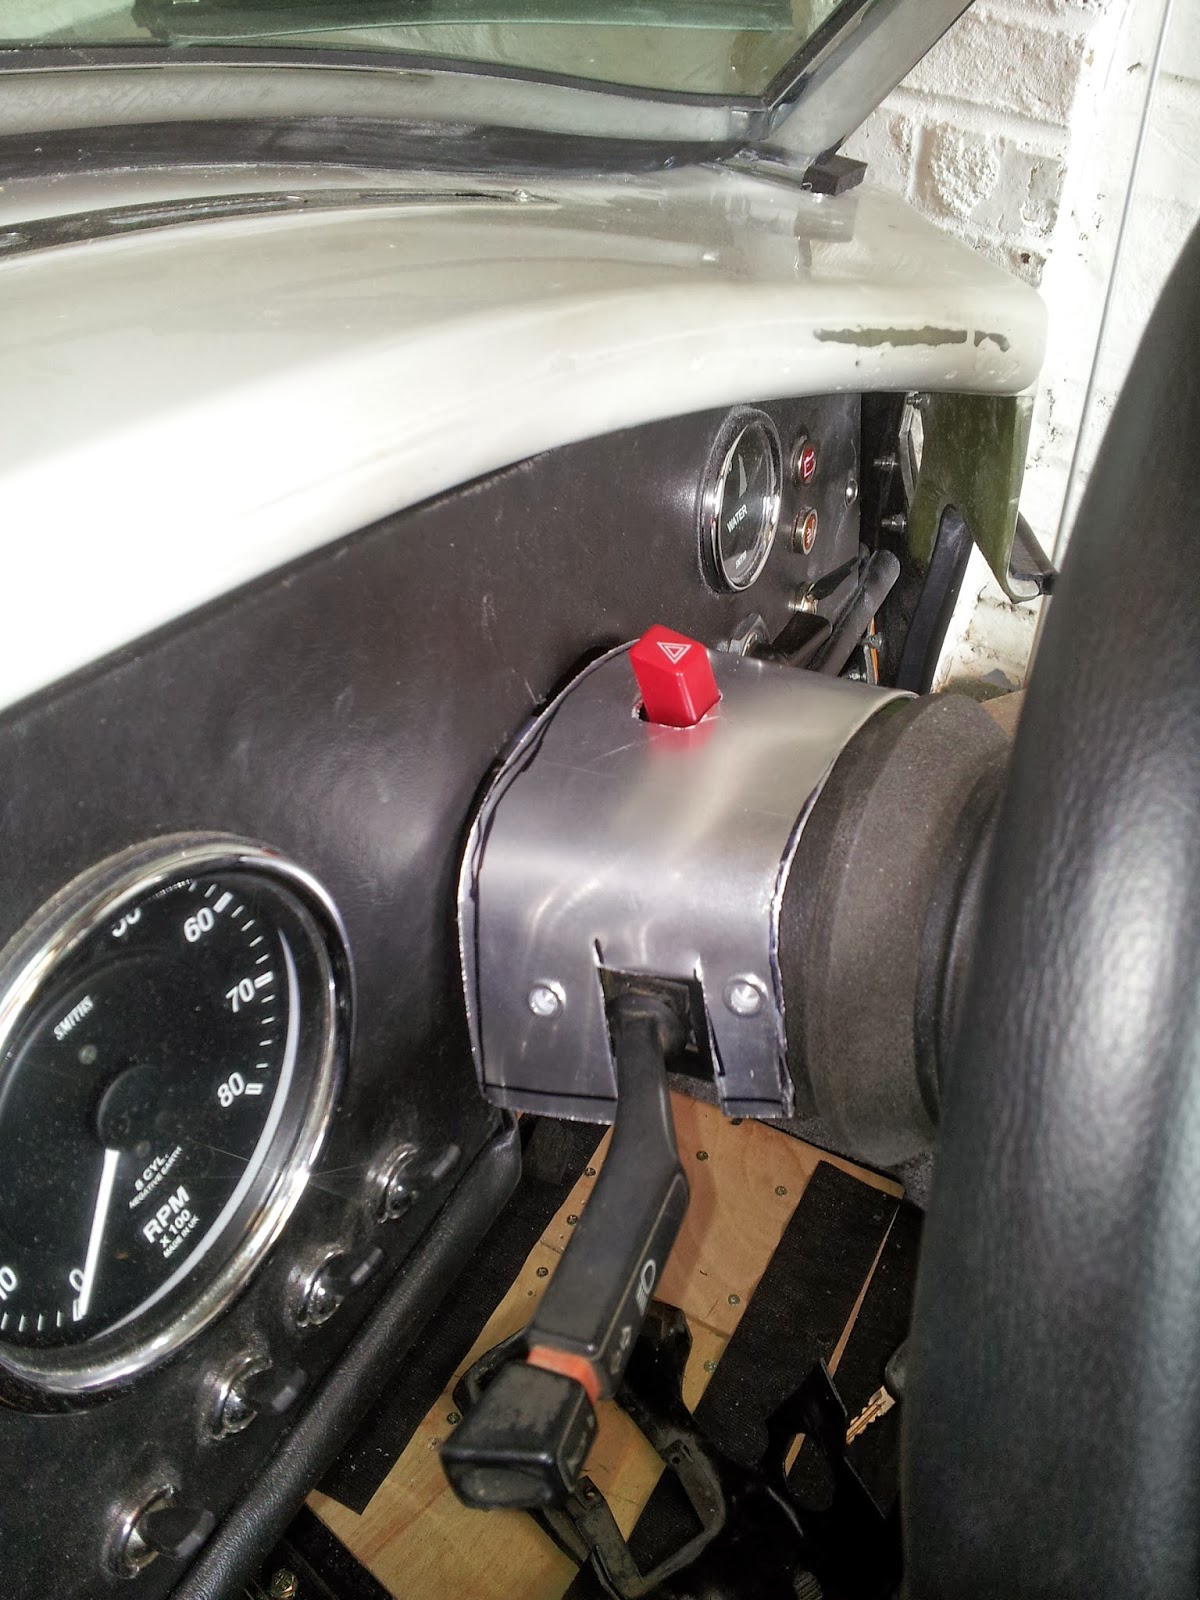
The column only needed shuffling up about 4mm and now I can get my hand in (below) which is fine, clearance is about 10 or 12mm. Generally I've found if I can fit my hand in then that's enough room when the engine wobbles around during operation. Before modification if I stood on the exhaust collector on the passenger side as they exit the body then I could hear it clonking on the steering column. After moving the column its fine, although the exhaust still clonks a bit on the exit in bodywork but its not doing any harm.


One other quick job was to put an ali sheet in underneath the heater matrix so if there's a leak on the hoses you don't get boiling coolant on your feet. You will also notice plastic nut covers are beginning to sprout all over the place just to be extra safe for IVA. They are peppered all over under the bonnet too, not because they are necessary but one I put a few on I quite like them so I went mad and put them on everything that's not hot enough to melt them.


Then to finish off the day I developed a carbon capture system to reduce the footprint of the cobra. Not sure if it will work though.


Friday 25 October 2013

Seatbelt fixing covers

The upper fixing points for the seatbelt are exposed and as such must comply with the IVA radius regs. Naomi got the old sewing machine fired up and made some little vinyl "pockets" that slip over the end and cover it all up:


Steering Column Shroud

Right then, back to the big list of things to do, the interior is still not complete. The column shroud has been annoying me for ages as it is in two halves, made of plastic and the top half I've got doesn't match the fixing points in the steering column. It must be off a slightly different model. The cutout for the hazard switch is square (not round like later columns) but the holes for fixing are in completely the wrong place. I used the top half as a guide to make one out of aluminium, with the intention of then covering the whole lot in vinyl.


Looks a bit nasty on its own but its amazing what a bit of vinyl and double sided sticky tape can do:


Sunday 6 October 2013

First (short) Drive

Well with the prop connected and everything else (temporarily) working, there were no more reasons to procrastinate any further so we took the car for a spin, to the end of the drive and back


We also took the opportunity to do another noise test and the result was a rather disappointing 110dB with the stainless scouring pads. Originally it was 115, then down to 112 with the attenuators shoved in the end. We were hoping for more with the scouring pads but I only put one in each side so I'll repack them with 3 or 4 and have another go.

Other than that, the clutch felt pretty good, fairly easy to control. It was unbelievably easy to spin the wheels, you think you are slipping the clutch but actually the wheels are spinning but you can't hear the gravel being flung everywhere over the noise of the engine, but  I suspect that may be a theme throughout the life of this car.

Water Pump Sorrow

Well we ran the car again today (video to follow), there are various oil leaks which we are aware of so when we saw fluid on the floor we weren't too concerned but on closer inspection it wasn't yellow (new oil), it was blue (coolant), which is bad. We had already nipped up the fixings on the cover plate on the back of the water pump and there seemed to still be a leak so after we had finished the repeat noise test and driven the car forwards/backwards the car went straight back up on jacks and the water pump was definitely leaking. As we stood there watching it the leak developed into a stream and after running around like idiots with various sized buckets, the car decided it had had enough of the crappy old gasket and relieved itself of all its coolant.

A few minutes and bruised knuckles later and the offending gasket could be inspected:


The gasket didn't look particularly good in two positions, which when fitted at the 3 and 9 o'clock positions which have a slightly different, flattened edge because of the way the back of the water pump is machined. Not having a replacement and feeling a little under pressure to get the rest of the car fixed, we dug out some silicone gasket sealant which I used on our old Nissan Micra sump when I did the timing chain. A nice bead on both sides of the gasket and the pump cover went back on. A bit fiddly as the room behind the pump is quite limited but it all went back together in about half an hour.

This is the back of the water pump with the plate taken off: