Saturday 28 December 2013

Christmas Drive

Managed to fit a new oil sensor without breaking anything.  Removed the extra baffles so we are now down to the standard unmodified Dave Brookes exhaust and is not that much louder,  you can still talk to your passenger under 50MPH or so then it's the wind noise that gets you.

My intention was to do 20 miles or so and get it warmed up,  then set the mixture and timing but as the father in law was here for Christmas we just enjoyed the fact that it was running (albeit badly) and had an hour or so out and about, did 60 miles or so in the end without much trouble.  It sounded a lot sweeter now with 20/50 valvoline mineral oil in it, I realised when I got back that we had gone out with no tools for emergencies but thankfully didnt need any! I thought I had fixed the wing mirrors and stopped them from folding in at speed but they are still completely useless.

Sunday 15 December 2013

Oil Change

Now, I've changed oil before on cars. It's not that difficult, however what the last 3 years have taught me is that its pretty easy for a simple job to spiral out of control. Yesterday we had a happy, working vehicle. Today we do not.

The magic 500 miles (or pretty close to 500) was clocked up yesteday so today I thought I would change the oil, as advised by the engine run in procedure from BAE/Custom Power and Paint. The oil oil filter was an absolute arse to remove, had to shove a screwdriver through and made a good old mess. The new one was supplied with the engine, a Fram PH25. Old one was an AC Delco PF454. They are not the same!


Oil filter mount in the engine below - the Fram filter seal position is wrong.


After much headscratching I realised the PH25 is meant to fit the oil cooler takeoff sandwich plate that came with our engine. We haven't fitted the oil cooler yet because it requires some creative bracketry at the front and in this weather its not really needed, so I was planning to leave it off for now. Unfortunately this means that until I get another oil filter I can't use the car. Word on the street is that the Fram filters are pretty crap anyway.

So, I had warmed the garage up and didn't want to waste it, I've been out the garage for a bit during the gap between IVA and registration and I'd forgotten how much I actually enjoy whiling away the hours fiddling around with the car, even if I then complain about things going wrong on here! Next job on the list was to replace the leaking oil temp sender. It's a 1/8NPT thread into a 1/8 - 1/2 NPT adaptor which then goes into the sump. I dug out a copper washer and put the new sender in the adaptor, tightened it up and.....


Whoops! So now I have a car with no oil filter and no oil temp sender, in need of new parts a week before Christmas. Hopefully we can get it sorted so the father-in-law can have a drive on Christmas day.


Now registered

Friday 13th December,  tax disc and v5 plopped through the letterbox so went to Halfords Saturday morning to get some number plates made. Car is new 63 reg as planned. Hurrah! First job ticked off the list - clear indicator lenses on, looks a lot better to my eyes. Haven't got a picture from the front yet, too busy driving it! The radiator mesh has been removed to improve air flow to the rad.


Sunday 17 November 2013

Next Steps...

The next task is to get the car registered and taxed. It's already insured on the chassis number (to allow us to drive it to the IVA). This will be transferred to the new registration when it comes through. I've got a V55/4 form from the DVLA for first registration of a new vehicle as apart from the engine, everything is new. You're allowed one major component to be refurbished.

I made a list of jobs to do and its surprisingly long. Longer in fact than any of the lists of things to do pre-IVA!

Just a sample of what's planned, from simple things to more involved jobs:

Lower ride height, reset toe/camber
Change oil, change oil temp sensor (leaks slightly)
Set timing to final value of 36deg all in at 3500 after a couple of hundred more miles run in
Open out holes in the body for the exhaust to give more clearance
Refit fog and reverse light below the body so it looks nicer
Fit more powerful fan for the heater blower and wire it up with slow and fast speed
Fit wind wings
Fit sun visors
Make new dash with better tacho position
Refit passenger seat so its more in-line with the vehicle
Refit doors so gaps are even
Paint (including preparing the bodywork
Set steering rack height properly to eliminate bump steer

Should keep us busy for a while!


Saturday 16 November 2013

IVA Pass!

Bit of work done over the weekend and evenings leading up to the retest (Thursday 14th November).

Extra ali panel added under the wiper motor, then covered up with carpet.


The bottom edge of the dash had some carpet added under the vinyl to make it a larger radius and also nice and squishy. Bonnet lock key inserts supplied by S&J motors at very short notice. New speedo was installed, I programmed it with the calibration numbe 8662 pulses per mile (tyre rolling circumference (18inch rear wheel with 285/35s on) x diff ratio x number of bolts on the prop that the sensor looks at). Bit of a guess but we checked it against satnav and a couple of phones with gps apps and it seemed pretty accurate.

Sadly Naomi couldn't get the day off work so my copilot was our friend Snowy. On the way we had one minor issue, the battery charge warning light came on so we stopped and investigated. It was just a connector on the alternator that had come loose. Got some pliers on to make it a tighter fit and popped it back on, back on the road in 10 mins.


We got there a tad late due to the alternator but the test proceeded without incident. CO emissions were an amazing 0.9% after much fiddling with the idle mixture. Speedo was fine, everything else was acceptable.

Pass!

The way home was more interesting, the fuel feed somehow popped off the carb and sprayed fuel all over the place but we mopped it up with some towels, hose back on the carb and back on the road, home in time for tea.

Wednesday 13 November 2013

IVA

Right then, the big day. 3 years of preparation leading to this moment!

Set off from home at 5.45. Tried to be quiet but pretty much failed immediately. Never mind the noise the engine makes but I accidentally caught the horn when reversing off the drive. Oh well. Drove up and down a quiet road down the back of our house that goes to an industrial estate a few times and did some hard braking from 30,40,50,60 to a stop to make sure it pulls up good and in a straight line. No bother there, the brakes had our collar bones almost snapping against the harnesses. Even though they're not bedded in the brakes are very good. Rattled through a few potholes to make sure nothing fell off, I was disappointed by how much bump steer there was but I can play with the height of the rack so I've probably just not set that correctly.

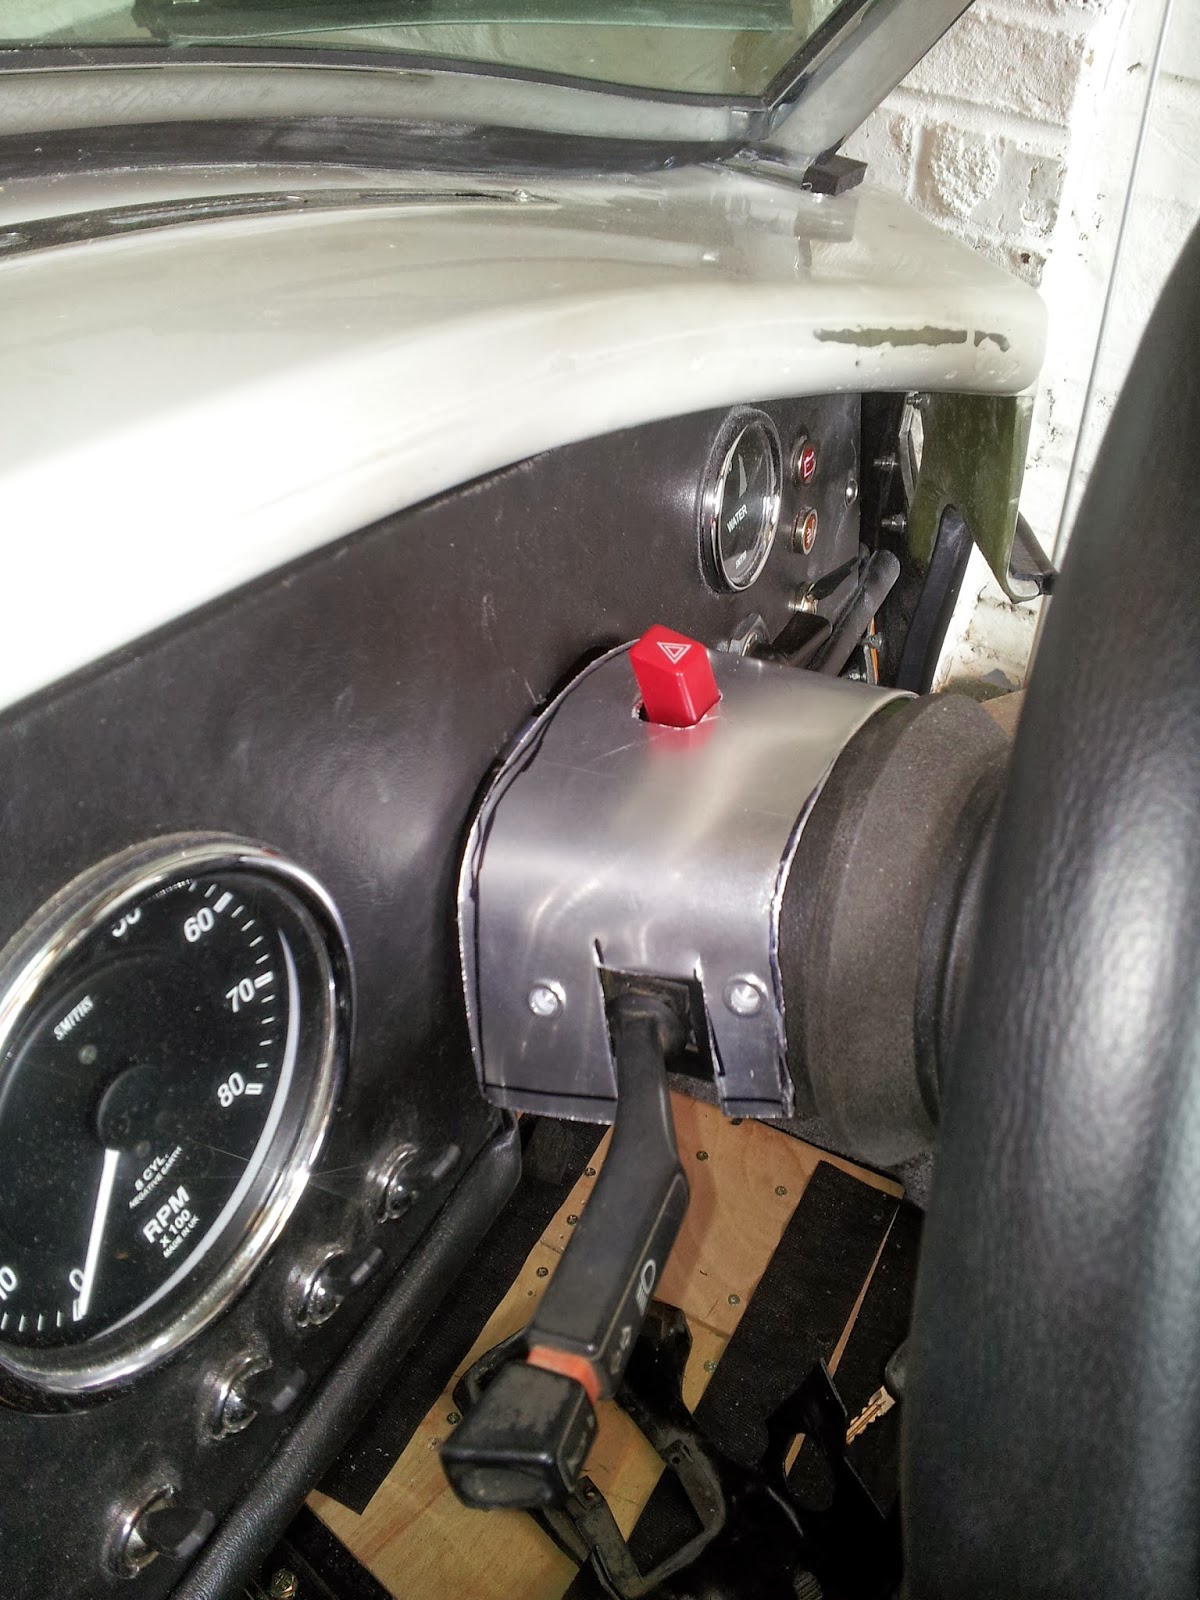
We then set off on the road proper, it was a bit chilly at 6am and I was extremely nervous so did some bad gear changes, especially downshifting it was jerking around a bit as I wasn't bringing the revs up enough to match. Fortunately the car sounds amazing so you just get your ears blasted with overrun popping and other fun noises so it didn't really matter that I was useless. My hand kept sticking to the metal gear knob and all the dials were virtually unreadable due to misting up. After 15 mins though everything was fine, apart from the speedo which remained misted up for another half an hour or so. More on that later.

The car drove well, even with the mixture not set very well, the timing retarded and using running-in oil. We got all the way to the petrol station round the corner from the test centre (Leighton Buzzard) with no drama. There was about half a tank in when we left and we had used most of that (25 litres or so) for 50 miles, so thats less than 10mpg. This would suggest its running a bit rich (again, more on that later!). It should get 15-18 on a steady run according to others with similar engines.

We got to the test station and went through the test process. The chap was very good, very knowledgeable and fair with his explanations of the few items we failed on.


The main two items that we failed on were the speedo not working, it thought that zero was actually 50mph. It was working most of the way there but when the car got on the rollers it started playing up. Later diagnosis is that the seal is bad and its got moisture in which has somehow knackered up the needle. I noticed later that there are several bits of fluff floating around behind the glass face so its probably full of crap from being unused in the garage for 2 years whilst building the rest of the car.

The other main thing was the emissions. The passenger side bank was fine and was getting below 4% on the 4.5% limit. HC limit was 1200 and we were allowed to do this at 2000rpm and got below 1000 so that was ok. The drivers side wasn't so good. The best continuous reading over 5 seconds was 5.0%. The tester let us fiddle for a bit but we couldn't get it down. I leaned it off on the idle mixture screws but didn't re-adjust the idle speed screw to match so it kept trying to stall and generally ran very rough. I had so many other worries and thoughts going round my head that it just didn't occur to me to tweak the idle speed, which would have probably sorted it. The HC's were ok but the CO was waving around between 5 and 7% and we couldn't get a stable reading. It would pass with the air filter removed but when it was put back on again it kept dying so after half an hour or so the tester said we would have to call it a day.

I have since taken the car to a garage where some old boys who know what a carb is had a tinker and it all (fingers crossed) seems good now.

Noise test was good, 98dB drivers side, 97dB passenger side.

Other minor fail points:

VIN plate wrong format. Our chassis is 3 years old and the VIN format changed 2 years ago. New plate ordered from Dax. 
Edge of bonnet locks too sharp. Dax failed to supply the IVA inserts for the key slots.
Lower edge of dash radius too small. Needs to be 19mm, ours was just slightly less. Re-cover with more vinyl.
Contactable edge on doors radius too sharp. Was surprised by this one but the tester was absolutely correct. The underside of the top edge of the door was a bit sharp. Bit of dremel action will have that sorted no probs.

The tester said other than those minor points (and the speedo/emissions) it looked a well-built car and we should be proud of our effort. The handbrake passed easily, I didn't see the value in % but he said jag based cobra kits often failed on the handbrake but ours was good. Top tip from the forum - drive a couple of miles with the handbrake on before the test to bed the shoes in :)

Back to the garage to rectify and retest ASAP!

IVA toolkit


I think thats just about every eventuality covered.....


We were going to take the other car full of every spare part but the number plate had fallen off and we hadn't had chance to get a new one, and thought it bad enough drawing attention by taking one car with no number plates (although legally in this case) so having two cars with no number plates would be just asking for trouble. Instead we decided to be brave and rammed the boot of the cobra full of everything that would fit, which is a surprisingly large amount of stuff. Managed to get the Halfords pro spanner and socket set, full imperial spanner set, multiple screwdrivers, pliers etc. cordless drill, hydraulic jack, spare bits of hose, hose clips, cable ties, every roll of tape imaginable, rivet gun, rivnut gun, spare wire, electrical terminals + tools, gas soldering iron and 5L jerry can. Quite well prepared, we thought.

Final Pre-IVA interior jobs

02/11/13

Last things before the IVA (on Wednesday 06/11/13) was to finish the carpet and put the seats in for the last time. The passenger seat is a bit on the wonk so I might jiggle it a bit straighter but haven't got time for that now. The tunnel cover was two pieces, one front and one rear. The rear bulkhead carpet then overlapped everything to give a nice finished edge. The front tunnel cover wrapped round slightly into the footwells. The edge was a bit rough here but tucked behind some other bits of carpet so didn't look too bad in the end. Under the dash was all carpeted to protect against nasty sharp bits, velcro'd on for easy access if anything needed looking at later.

One thing we noticed that had been completely forgotten was something to finish off the hole for the gearstick so we just folded the carpet back on itself.


Wing Mirrors

02/11/13

For a few terrible minutes I thought I was going to have to remove the windscreen to drill the holes in the windscreen surround but just managed to squeeze the two fixings in. Note that the wind wings are a no-no for IVA, I had them on to make sure the position I drilled for the mirrors didn't get in the way of the wind wings.


Last Minute Water Pump Job

I've got some posts to catch up on (now post-IVA!) so I'll try to remember everything I did over the last week.

30/10/13

I re-fitted the water pump backing plate gasket a couple of weeks ago and re-used the old gasket and dolloped some silicone sealant on it but in the back of my mind I wasn't happy. I hadn't run the engine since but I thought I should really get a new gasket and do it properly. Thanks to Adrian at American V8 Engines I got a set of Felpro gaskets for the water pump. I drained the coolant and completely removed the pump, which required the alternator to come off too. A bit worrying to be doing the week before the IVA test but it would help me sleep a little better.

The old gasket came off and I cleaned up the mating surfaces good and proper. I put far too much sealant on last time and it had splodged inside the pump so I cleaned all that up too. Bit of hylomar blue on the gasket to help it seal and everything was back together. Whole job probably took about an hour and a half.

After running the car it still leaks very very slightly but is hardly noticeable. I think maybe I missed a bit of the old sealant when cleaning it up so thats on my list of things to do over winter.


Monday 28 October 2013

Steering Column Shuffle and other tasks

One unexpected side effect of raising the engine is that all the lovely clearance of the steering column to the exhausts has disappeared. Luckily I I decided to fit the footwell column bush from the engine bay side, so this can be removed without having to take the column out (now the column shroud and dash are in this was Very Good News). The plan was to get the file out and slot the hole to shuffle the column bush up a bit, and give a bit more clearance to the exhaust headers.

On removal I had a look at the plastic centre of the column bush. It's got teeth on one end that loosely line up with the splines, and a triangular section at the other which fits the main part of the column. With many in/outs from multiple refitting and adjustment of the column it was getting a bit worn and when the steering wheel is jiggled vigorously you could just feel a little clunk of movement so I swapped it for a new one now the column position was finalised.


The column only needed shuffling up about 4mm and now I can get my hand in (below) which is fine, clearance is about 10 or 12mm. Generally I've found if I can fit my hand in then that's enough room when the engine wobbles around during operation. Before modification if I stood on the exhaust collector on the passenger side as they exit the body then I could hear it clonking on the steering column. After moving the column its fine, although the exhaust still clonks a bit on the exit in bodywork but its not doing any harm.


One other quick job was to put an ali sheet in underneath the heater matrix so if there's a leak on the hoses you don't get boiling coolant on your feet. You will also notice plastic nut covers are beginning to sprout all over the place just to be extra safe for IVA. They are peppered all over under the bonnet too, not because they are necessary but one I put a few on I quite like them so I went mad and put them on everything that's not hot enough to melt them.


Then to finish off the day I developed a carbon capture system to reduce the footprint of the cobra. Not sure if it will work though.


Friday 25 October 2013

Seatbelt fixing covers

The upper fixing points for the seatbelt are exposed and as such must comply with the IVA radius regs. Naomi got the old sewing machine fired up and made some little vinyl "pockets" that slip over the end and cover it all up:


Steering Column Shroud

Right then, back to the big list of things to do, the interior is still not complete. The column shroud has been annoying me for ages as it is in two halves, made of plastic and the top half I've got doesn't match the fixing points in the steering column. It must be off a slightly different model. The cutout for the hazard switch is square (not round like later columns) but the holes for fixing are in completely the wrong place. I used the top half as a guide to make one out of aluminium, with the intention of then covering the whole lot in vinyl.


Looks a bit nasty on its own but its amazing what a bit of vinyl and double sided sticky tape can do:


Sunday 6 October 2013

First (short) Drive

Well with the prop connected and everything else (temporarily) working, there were no more reasons to procrastinate any further so we took the car for a spin, to the end of the drive and back


We also took the opportunity to do another noise test and the result was a rather disappointing 110dB with the stainless scouring pads. Originally it was 115, then down to 112 with the attenuators shoved in the end. We were hoping for more with the scouring pads but I only put one in each side so I'll repack them with 3 or 4 and have another go.

Other than that, the clutch felt pretty good, fairly easy to control. It was unbelievably easy to spin the wheels, you think you are slipping the clutch but actually the wheels are spinning but you can't hear the gravel being flung everywhere over the noise of the engine, but  I suspect that may be a theme throughout the life of this car.

Water Pump Sorrow

Well we ran the car again today (video to follow), there are various oil leaks which we are aware of so when we saw fluid on the floor we weren't too concerned but on closer inspection it wasn't yellow (new oil), it was blue (coolant), which is bad. We had already nipped up the fixings on the cover plate on the back of the water pump and there seemed to still be a leak so after we had finished the repeat noise test and driven the car forwards/backwards the car went straight back up on jacks and the water pump was definitely leaking. As we stood there watching it the leak developed into a stream and after running around like idiots with various sized buckets, the car decided it had had enough of the crappy old gasket and relieved itself of all its coolant.

A few minutes and bruised knuckles later and the offending gasket could be inspected:


The gasket didn't look particularly good in two positions, which when fitted at the 3 and 9 o'clock positions which have a slightly different, flattened edge because of the way the back of the water pump is machined. Not having a replacement and feeling a little under pressure to get the rest of the car fixed, we dug out some silicone gasket sealant which I used on our old Nissan Micra sump when I did the timing chain. A nice bead on both sides of the gasket and the pump cover went back on. A bit fiddly as the room behind the pump is quite limited but it all went back together in about half an hour.

This is the back of the water pump with the plate taken off:


Monday 30 September 2013

Prop to Diff bolts

The wisdom of the cobra forum suggests that all is not as it should be, either the holes are slightly in the wrong place (but correct relative to each other) or another suggestion that the prop itself is larger than standard so the knuckles on the joints are bigger. Anyway the solution was to ditch the bolts and use some 10.9 studding with a plain shank section in the middle. I was directed to some Ford to BMW wheel nut-stud adaptors on Ebay by Dave Brookes and these did the job.


Friday 20 September 2013

Dash for IVA

Just a couple of pics to show the solution for the radius requirement for the IVA. If the bottom of the dash is a hard edge it needs minimum 20mm radius so I cut a slot in a bit of 20mm O.D. aluminium tube and wedged it on the bottom of the dash. The tube will get covered in black vinyl when we get round to it.

Also, interestingly. it seems the gear lever is a lot further forward with a tremec box so if you are using the Dax dashboard rather than making your own you may need to check clearance to the dash of the gear stick when in 1/3/5th gear. This isn't a problem with the getrag box as the gear lever is miles away


Update 14/10/13 to add picture of lower IVA rail with a bit of vinyl around it. Doesn't look half bad, the vinyl is held on with some double sided trim tape and just needs tweaking a little where its rucked up.


Sunday 15 September 2013

Prop shaft - first attempt

With a project as complicated as this you can guarantee there will be highs and lows along the way. Rolling the car outside on its wheels for the first time was a high. As was fitting the body, fitting the engine and starting the engine.

I think yesterday morning was definitely the lowest point. So close to the finish, most of the things on the car work but it still doesn't move under its own steam. I ordered the prop shaft back in March and this morning it finally arrived.

Here it is. We have remarked several times how short the prop shaft will be. Observe the shortness:


Now observe the not-so-short distance from the gearbox to the diff:


After almost 6 months of waiting and the prop shaft is nearly 5 inches too short. One of the most annoying parts is that I've seen this happen before from Dax in someone's blog and I thought maybe I should check so the same thing doesn't happen to me, but I didn't.

We consoled ourselves by making progress on a number of other things but I have been making preparations to book the IVA for mid-October and this is a serious blow to that target. After almost 3 years it's becoming a struggle to force ourselves into the garage and get the remaining jobs done, and that was before this set back.

 Anyway, stuff crossed off the list today:

Speedo bracket has been made, fixing holes drilled and just waiting for paint to dry.
Air filter studding cut to sensible length and nasty wing nut swapped for a shiny dome nut.
Wind screen estutcheon plates where the windscreen pillars go through the body have been sealed with silicone to stop the rain getting in.
Passenger side heater vent glued back on after I snapped it off accidentally a few weeks ago
Passenger footwell front/side/other side carpet glued in.
Diode added from fog light feed to headlight feed so when the rotary light switch is on "fog", the headlights stay on.
Diodes added to indicator dash light. Left + right go into a single lamp on the dash and this connection meant when you indicate left or right you get 4-ways. I bought a bunch of Zener diodes (3W, 24V breakdown (zener) voltate) which I put on the feeds from L+R to stop the voltage "leaking" undesirably into the wrong indicator circuit.
Took the dash off to make carpeting easier and did some minor loom tidying on the back of the dash. Good job I did too as I noticed some of the fixings for the gauges had come loose, presumably from running the engine. I had a lucky dip bag of shake proof washers which I liberally applied on every fixing I could see.


Edited 13/10/14 to update with picture of speedo sensor bracket:


Exhaust Baffles extra silencing.

Forget Magnaflow, Powerflow, Jetex and other well known custom exhaust manufactures.

May I introduce you to the latest in vehicle exhaust noise management - the Spontex Exhaust System


Both sides now sporting a stainless steel washing-up scouring pad for extra noise reduction. Not tested yet.

Updated 14/10/13 - Tested last weekend and not much of a reduction in noise. The meter reading was 110dB average so its down a tiny bit, but not much. I took the end of the pipes off to have a look at the pads inside and it soon became clear why they haven't reduced the noise much:


The exhaust pressure had pushed it all to the end so it was only doing half a job! It would seem that one per side isn't enough to really do much use.


Tuesday 10 September 2013

Exhaust Baffles

Much interesting work took place at the weekend, I got some baffles off ebay (dB Killer) I think the ones I got were for a bike. My exhausts are 5" with a 3" ID baffle the full length of the side pipe. The plan is to stuff an extra baffle, intended for a puny 3" exhaust down the centre of the existing baffle. Others have then stuffed some stainless steel scouring pads from Tesco to further bring down the noise. We are taking a vaguely scientific approach and taking measurements of 1) original 2) extra baffles and 3) extra baffles + scouring pads.

These are the baffles:

and these are the sidepipes and existing baffles:


This is the new baffle wrapped in stainless scouring pads ready to be fitted. Looks a bit amateur (matches the rest of the car then!) but I'm well informed that it does actually work.


The weld at the end of the existing baffle is just visible and was removed with a dremel where it had penetrated through. This allowed the new extra baffle to slip in with a bit of help from Mr Wood and Mr Hammer. Then, out came the cobalt drill bits to drill through both baffles and fit a retaining screw.


End cap back on and job done.

Now as for the measured noise reduction, this post is a bit of a cheat as I did the passenger side exhaust on Monday night. On Sunday due to rain and the water pump deciding it was bored of keeping the water on the inside, we only added the extra baffle to the drivers side. The results were interesting though. With a calibrated sound meter (not a smart phone app!) with the original baffle we measured an average of 100dB (left and right) at tickover. The test in the IVA manual says the sound meter has to be 500mm away from the exhaust, level with the outlet at an angle of 45 degrees. The engine has to be at whatever rpm equates to 3/4 max engine power and the noise limit is 99dB. Until a couple of years ago it used to be 101dB. We had a guess that 3750 was probably about right for this, although its probably a little higher, more like 4250.

Anyways, 100dB at tickover. At 3750rpm the average was 115dB, which is very very loud. With the extra baffle in (drivers side only) it was 96dB at tickover and 106dB at 3750rpm, which is an impressive reduction considering the passenger exhaust is still on full loudness. I then baffled the passenger side and re-tested. Tickover was still 96dB and 3750rpm was 105dB. I think this was because when you do the noise test with sidepipes you are only "listening" to one side at a time so the combined effect of silencing both sides was a little disappointing.

The water pump is hopefully not much of a problem, it was spurting a bit of water and steam from the gasket on the cover plate on the back of the pump. I didn't have the correct imperial spanner (shame!) to nip up the fixings so an imperial spanner set is winging its way from ebay.

On a more general note, this could be a good solution for track days as apart from cleaning off the weld on the inside of the large baffle and drilling the hole for the fixing screw it only took about 15 mins, which included locating the correct tools which were scattered to the four corners of the garage. 

Most UK tracks have a drive-by noise limit measured trackside on a main straight. At Donnington this is 98dB and at Snetterton this is as low as 92dB! Snetterton specifies the measurement is taken 20m from the track. They also have static noise tests which for road cars will be 105dB at the very most on a "noisy" day and can sometimes be as low as 98dB.

To meet the IVA noise regulations in the end more severe baffling had to be added. These beauties were constructed by the chap I got my exhausts off. They started off life very similar to my motorcycle DB Killer baffles and were then bent to match the shape of the end of the exhaust itself. A blanking plate was then cut to match the exhaust outlet shape and welded on the end. A good dollop of fibreglass wadding was then wrapped round and the hole thing held on with a big jubilee clip to avoid having to drill extra holes in the exhaust.


This is it fitted to the car, a 5mm radius stainless wire was bent to match the shape of the exhaust exit and welded on which then meets the IVA requirement for sharp edges as the exhaust in its standard form with no rolled edge would have failed that.


This worked extremely well and got my static noise below 90dB and my 3/4 max revs was tested at 97dB on one side, 98dB on the other side so passed the IVA noise test with room to spare. Driving with these fitted caused noticeable reduction in power and rather disappointingly made the engine so quiet that the tyre noise was the loudest thing when cruising along and rather spoiled the experience.